What You’ll Need
Here’s what you need before starting:
- High-quality tape-in hair extensions
- A tail comb for precise sectioning
- Sectioning clips to keep your hair organized
- A flat iron (optional, for better tape adhesion)
- Clean, dry hair free of oils and residue

Step-by-Step Guide to Applying Tape-In Extensions
Step 1: Prep Your Hair
- Wash your hair thoroughly with a clarifying shampoo to remove oils, dirt, or product build-up.
- Dry your hair completely—tape-ins won’t adhere to wet or damp hair.
Step 2: Section Your Hair
- Use the tail comb to create a horizontal parting near the nape of your neck, about one inch from the bottom.
- Clip the rest of your hair out of the way for easy access.
Step 3: Measure and Align the Extensions
- Take a small, thin section of your natural hair—thin enough to allow the tape on both sides to adhere securely.
- Place one tape-in weft underneath the section, close to the roots but not touching your scalp.

Step 4: Sandwich the Hair
- Take a second tape-in weft and press it on top of the first, sandwiching your natural hair between the two adhesive strips.
- Press firmly to ensure the tapes bond properly.

Step 5: Repeat the Process
- Move upward, creating horizontal sections about an inch apart.
- Continue applying the tape-ins, working your way toward the crown of your head.
- Use smaller pieces near the sides and temples for a more natural finish.
Step 6: Seal the Tapes
- For extra security, use a flat iron on low heat to gently press the tapes together. This step is optional but helps the adhesive bond last longer.

You can also watch the installation video from our IG
Tips for a Seamless Application
-
Avoid Overloading: Don’t add too many extensions near the crown to keep them hidden.
-
Thin Sections Are Key: Ensure the hair section between tapes is thin enough to secure a strong hold.
-
Blending Is Essential: Trim or layer the extensions to blend them with your natural hair.
Caring for Your Tape-In Extensions
To ensure your tape-ins last as long as possible:
- Wait 48 hours before washing your hair after application.
- Use sulfate-free shampoos and conditioners to maintain the adhesive bond.
- Avoid applying oils or heavy conditioners near the roots.
Why Choose Our Tape-In Hair Extensions?
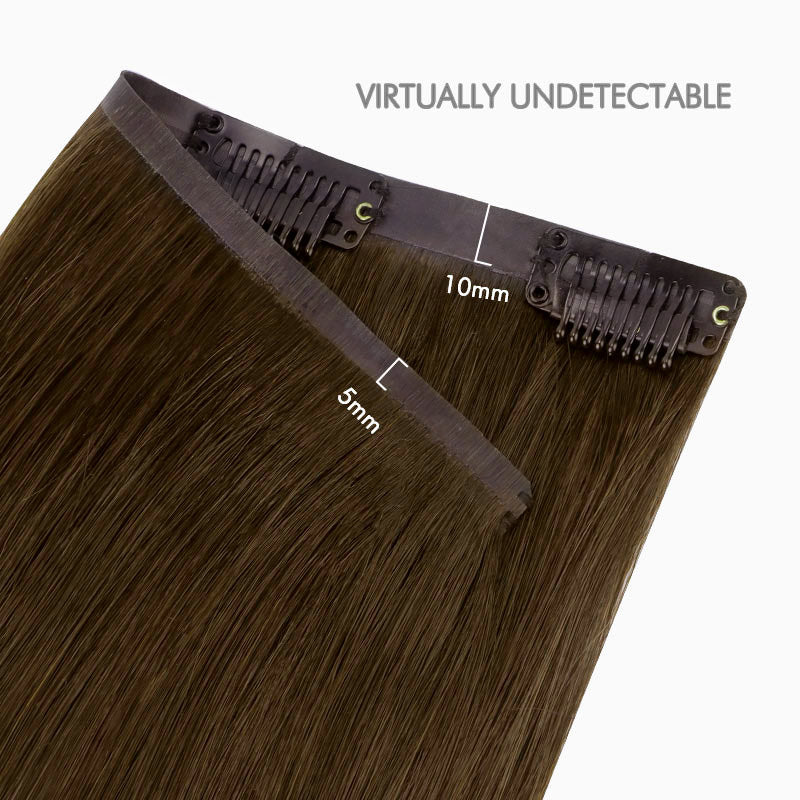
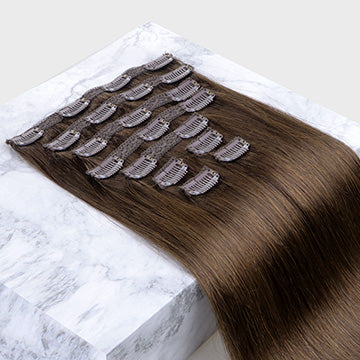
Our premium tape-in extensions are made with 100% human hair, ensuring a natural look, easy styling, and long-lasting wear. They are lightweight, reusable, and come in a variety of shades to match any hair type.

Ready to transform your hair? Browse our collection and find your perfect match today!
By following this guide, you can confidently apply tape-in extensions at home, achieving a salon-worthy look without the salon price. Practice and patience are key—before you know it, you'll be a pro at DIY tape-in application!
Looking for more hair tips and tricks? Visit our blog for expert advice and exclusive deals!

