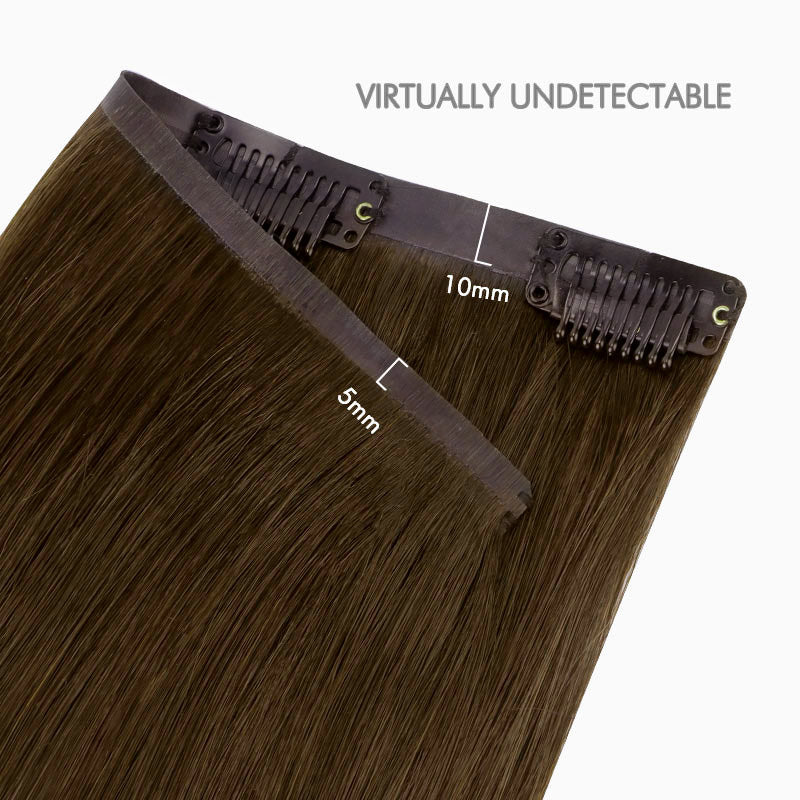
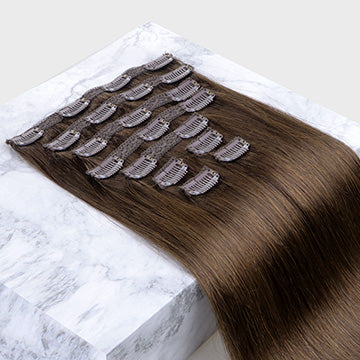
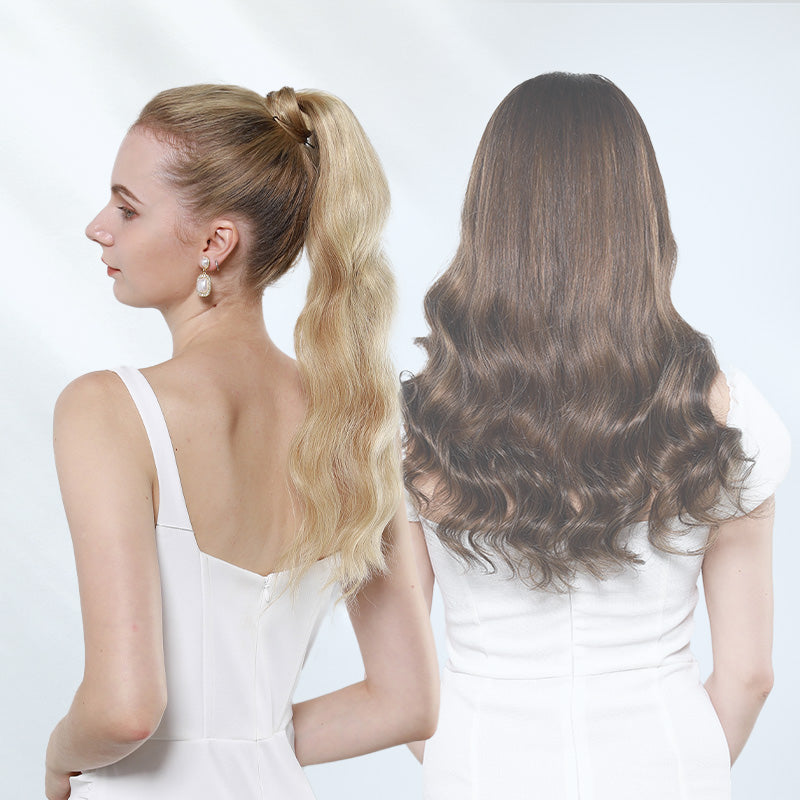
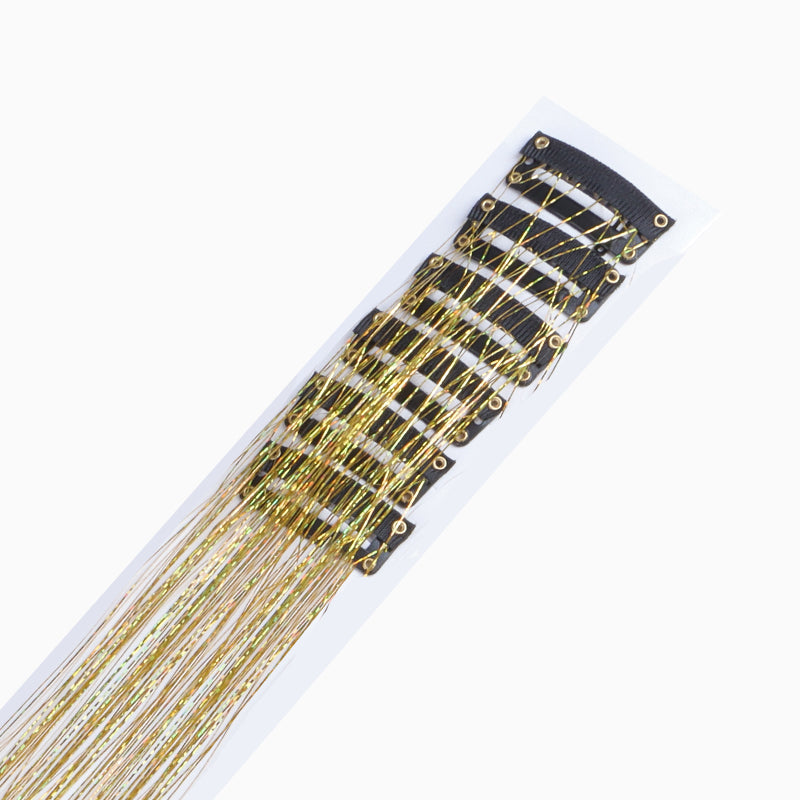
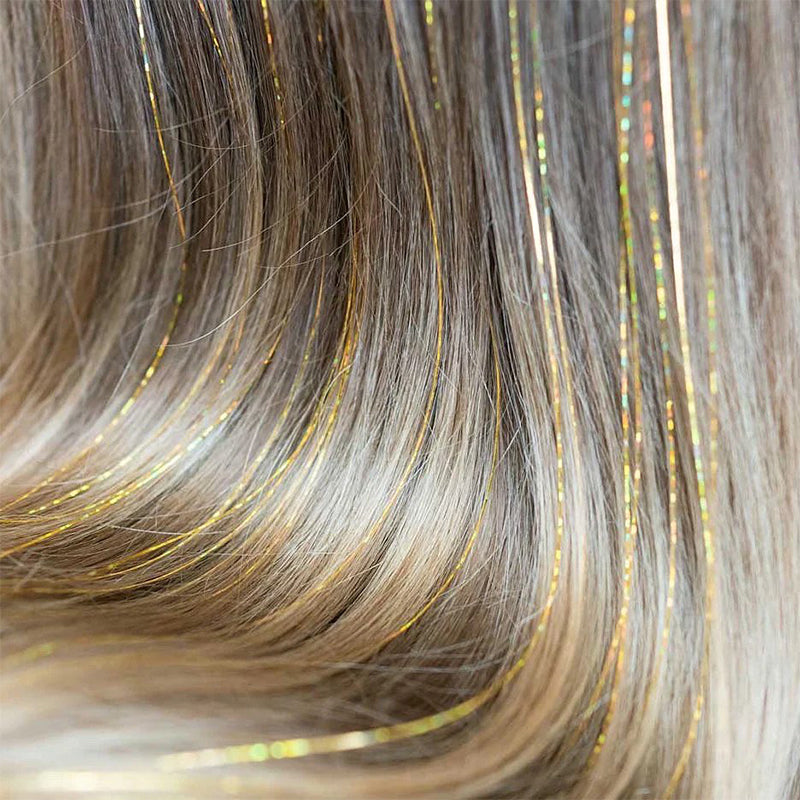
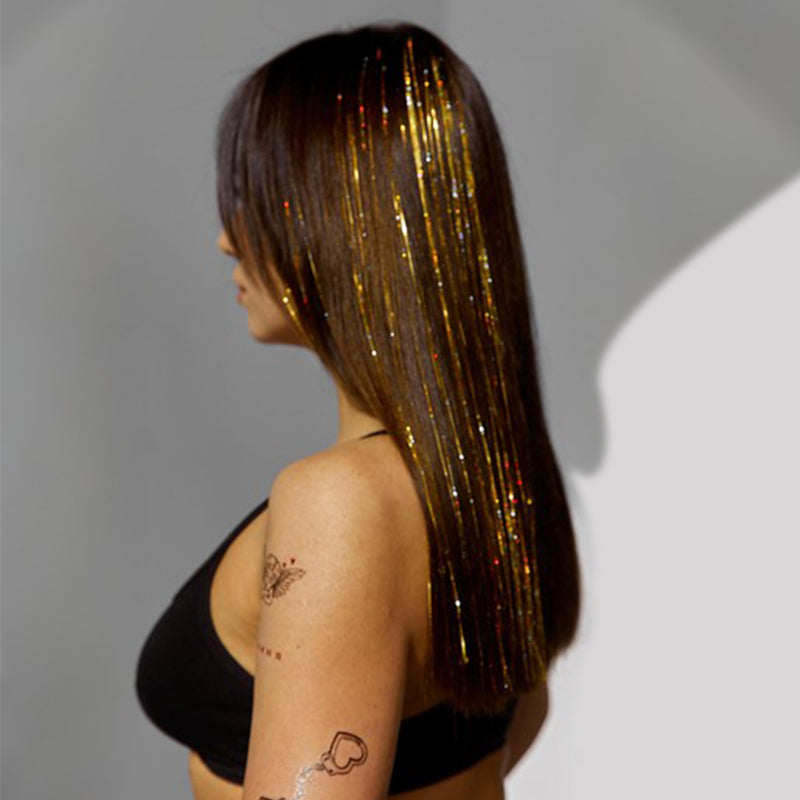
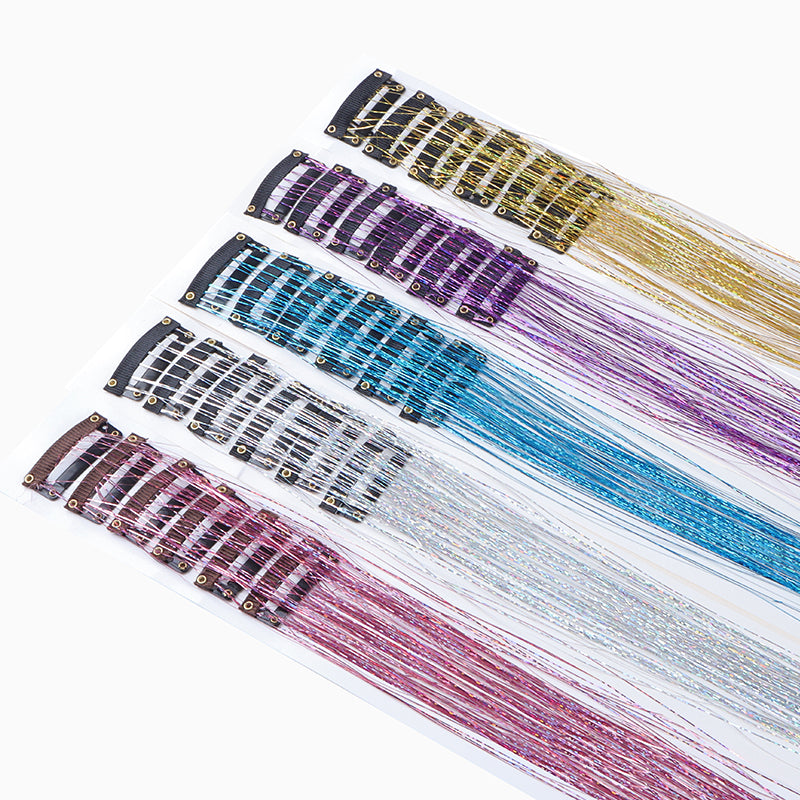
Clip-in hair extensions are a quick and easy way to transform your look, adding length, volume, and versatility to your hairstyle. Whether you're new to using extensions or just want a refresher, this guide will walk you through how to apply clip-in hair extensions like a pro.
Why Choose Clip-In Hair Extensions?
Clip-in hair extensions are a favorite among beauty enthusiasts because:
- Quick and Easy: No need for a salon appointment—apply them at home in minutes.
- Non-Damaging: They don’t require glue, heat, or any permanent methods.
- Versatile: Wear them for a day or an event and remove them before bed.
What You'll Need
Before you begin, gather these essentials:
- Your clip-in hair extensions
- A tail comb for sectioning
- Hair clips to hold sections in place
- A mirror for visibility
- (Optional) A flat iron or curling wand to blend the extensions
Step-by-Step Guide to Applying Clip-In Extensions
Step 1: Prepare Your Hair
Start with clean, dry, and tangle-free hair. If your natural hair is sleek and smooth, consider teasing the roots of the sections where the clips will be placed to give them more grip.
Step 2: Section Your Hair
Using the tail comb, part your hair horizontally from ear to ear about one inch above the nape of your neck. Clip the top section of your hair up and out of the way.

Step 3: Attach the First Weft
- Take a weft with 3 or 4 clips.
- Open the clips and position them along the part.
- Start by clipping the middle clip first for stability, then secure the side clips.

Step 4: Layer the Extensions
- Release another layer of hair about an inch above the first.
- Repeat the process with the next largest weft.
- Continue layering, working your way up to the crown of your head.
Step 5: Add Side Pieces
Use the smaller 1- or 2-clip wefts to fill in the sides for a seamless blend. Position these near your temples or just above your ears.

Step 6: Blend Your Hair
- Use your fingers or a wide-tooth comb to blend the extensions with your natural hair.
- Style as desired—curl or straighten to match textures for a flawless finish.

Step 7: Final Check
Use a mirror to check the back and sides of your hair, ensuring the extensions are hidden and secure.
Tips for a Natural Look
- Match Colors: Choose extensions that closely match your natural hair color.
- Blend Textures: If your natural hair is wavy, opt for wavy extensions or style them to match.
- Don’t Overload: Use just enough wefts to add volume without making the extensions noticeable.
Maintenance for Long-Lasting Extensions
- Store your extensions in their original packaging or a hair extension hanger to keep them tangle-free.
- Wash them occasionally with sulfate-free shampoo and conditioner.
- Avoid excessive heat styling to maintain their quality.
Why Invest in Quality Clip-In Hair Extensions?
High-quality extensions last longer, look more natural, and are easier to style. Browse our premium collection of clip-in hair extensions designed for comfort and a flawless look.
Shop now and discover the perfect match for your style!
By following this guide, you'll achieve a salon-worthy hairstyle in the comfort of your home. Practice makes perfect, so don’t worry if it takes a couple of tries to master the technique. Happy styling!
Optimize your beauty routine with our top-rated clip-in hair extensions. Visit dooreshair for exclusive offers and tips!

