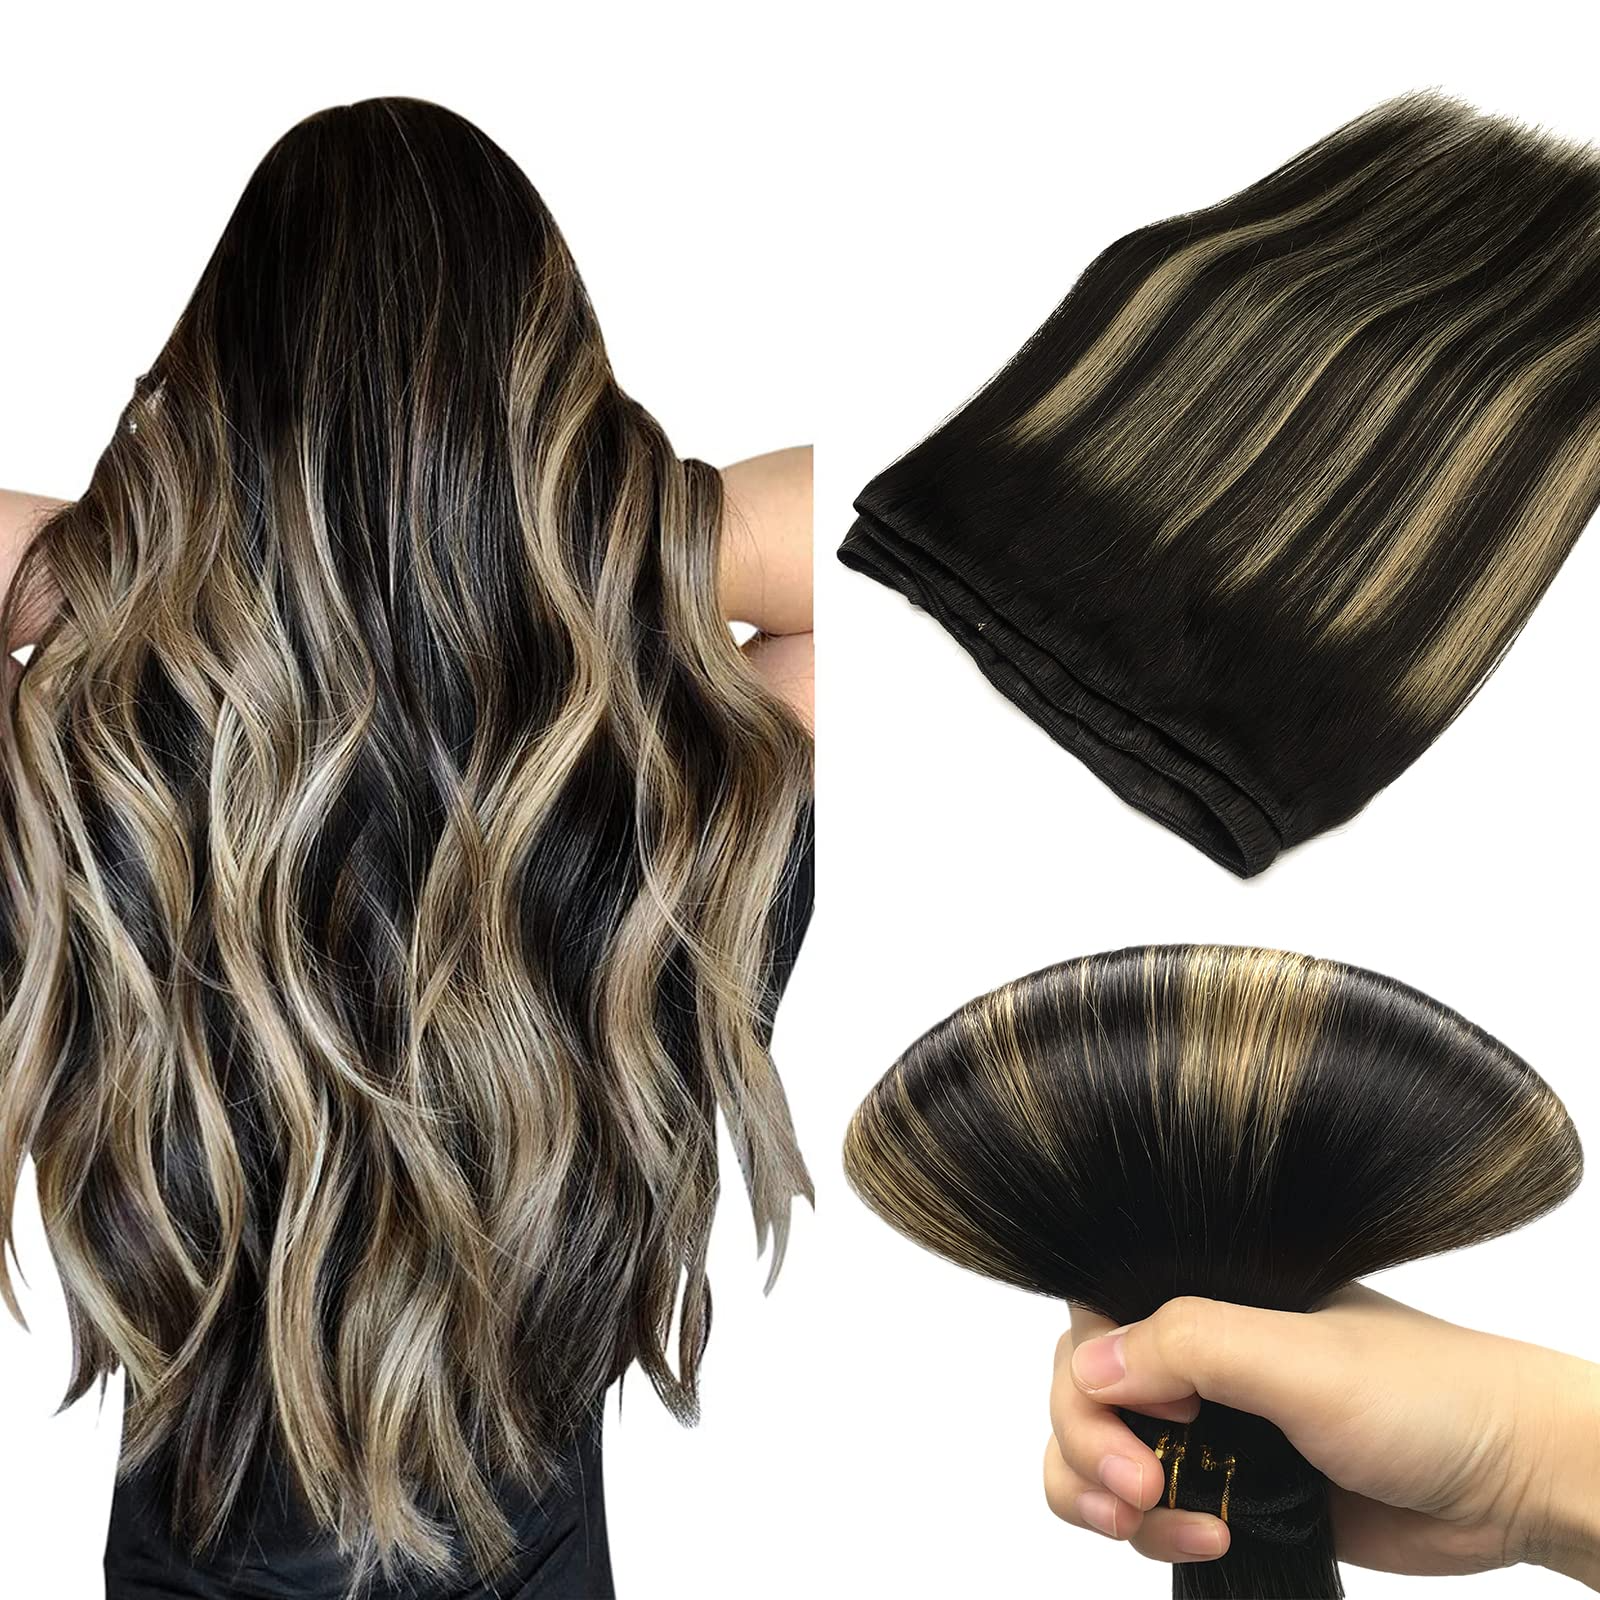
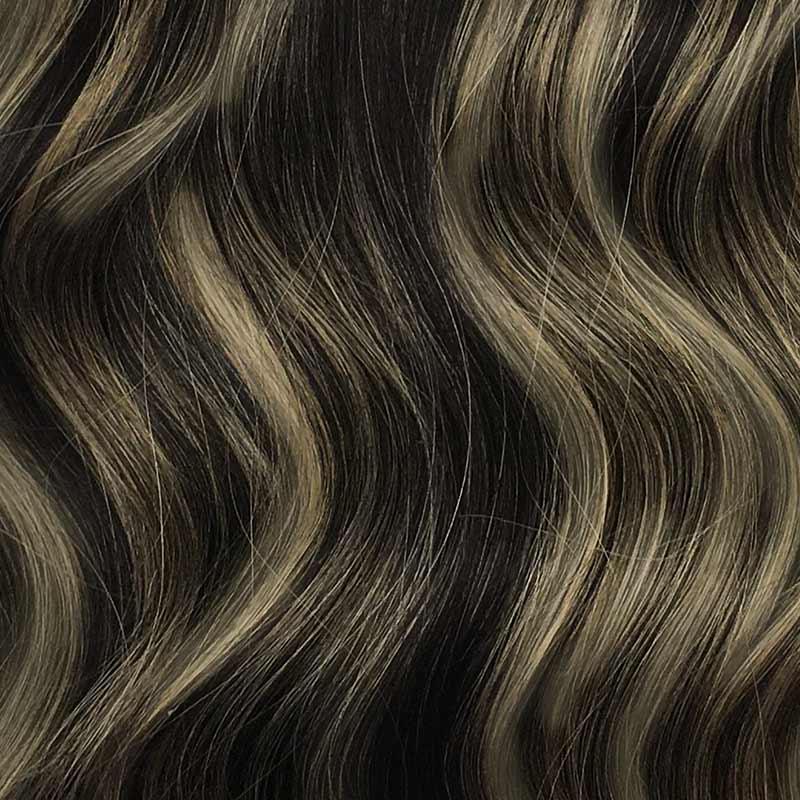
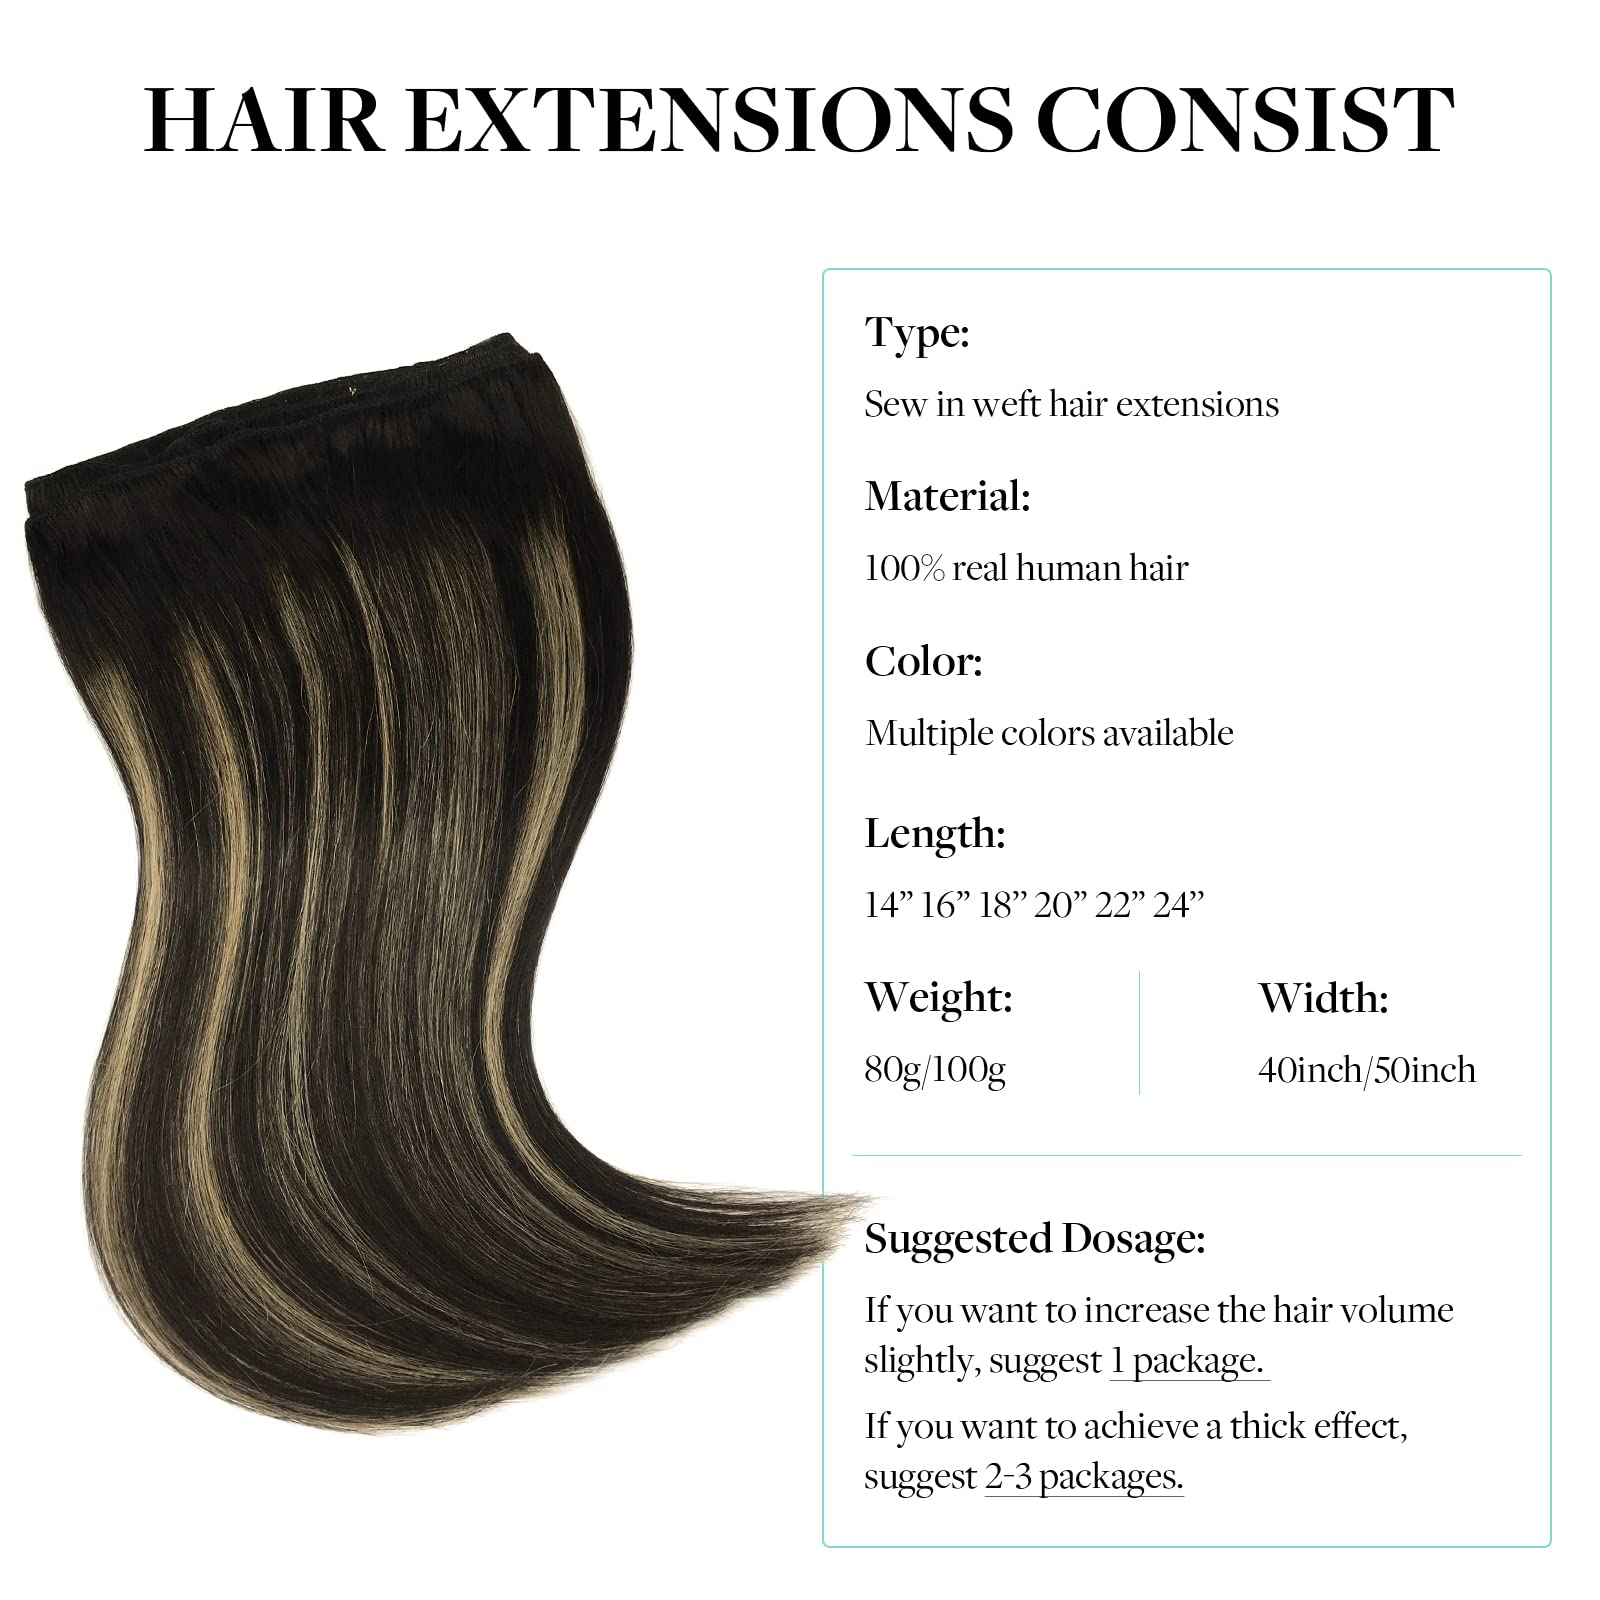
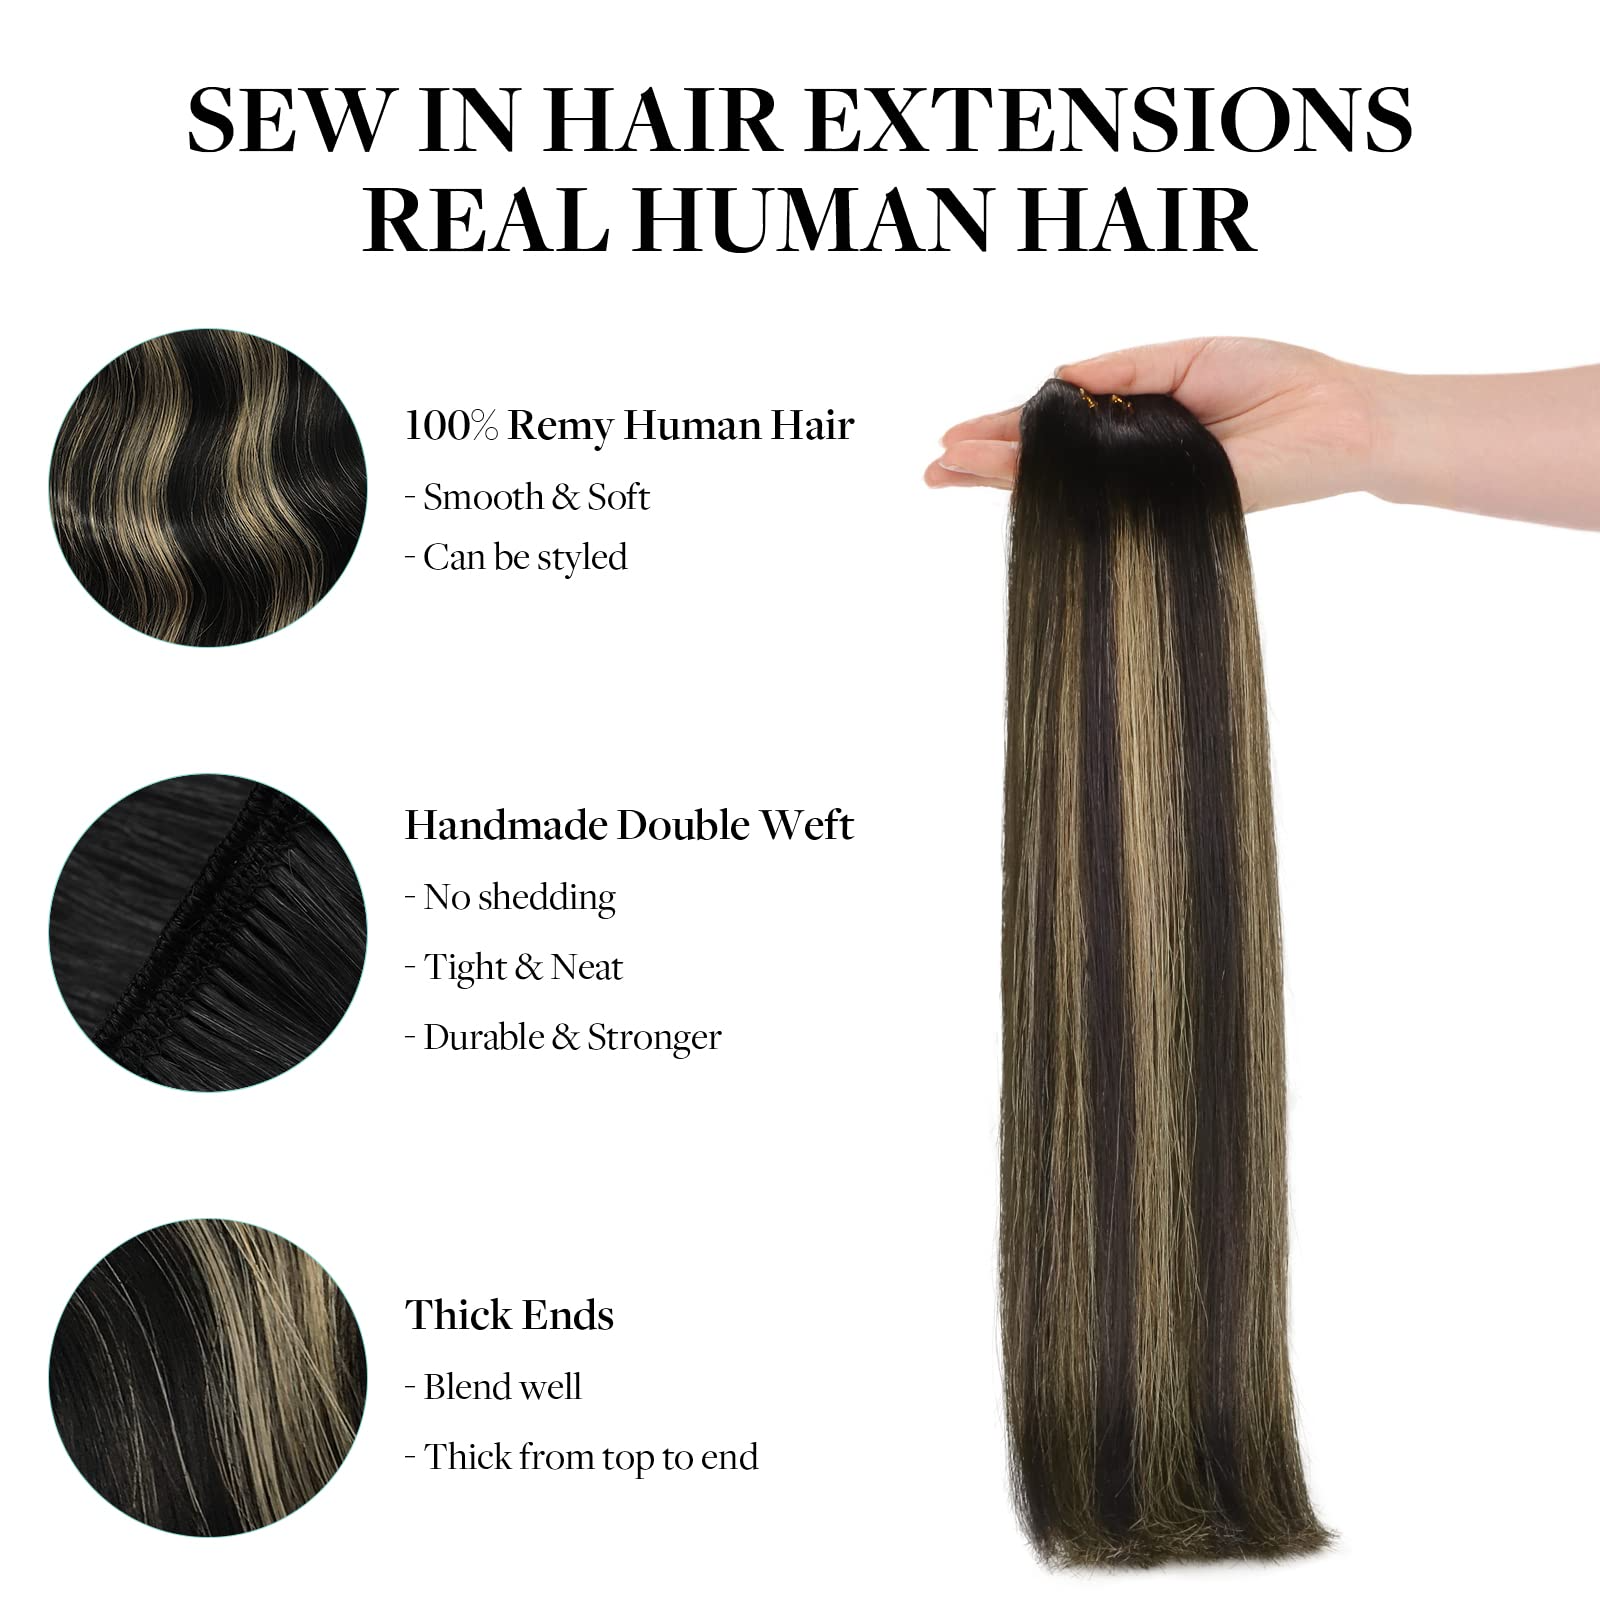
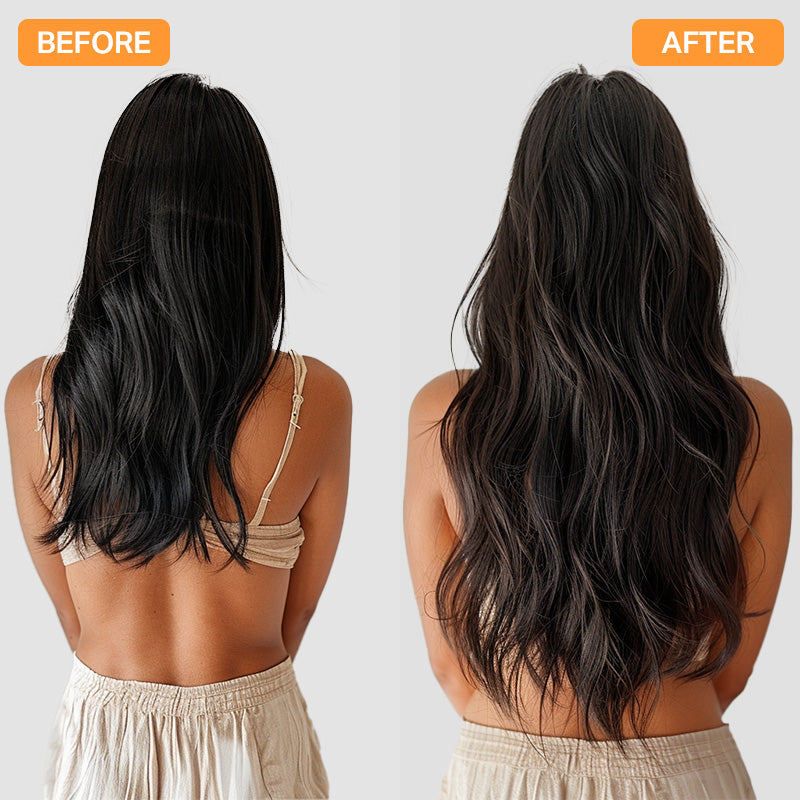
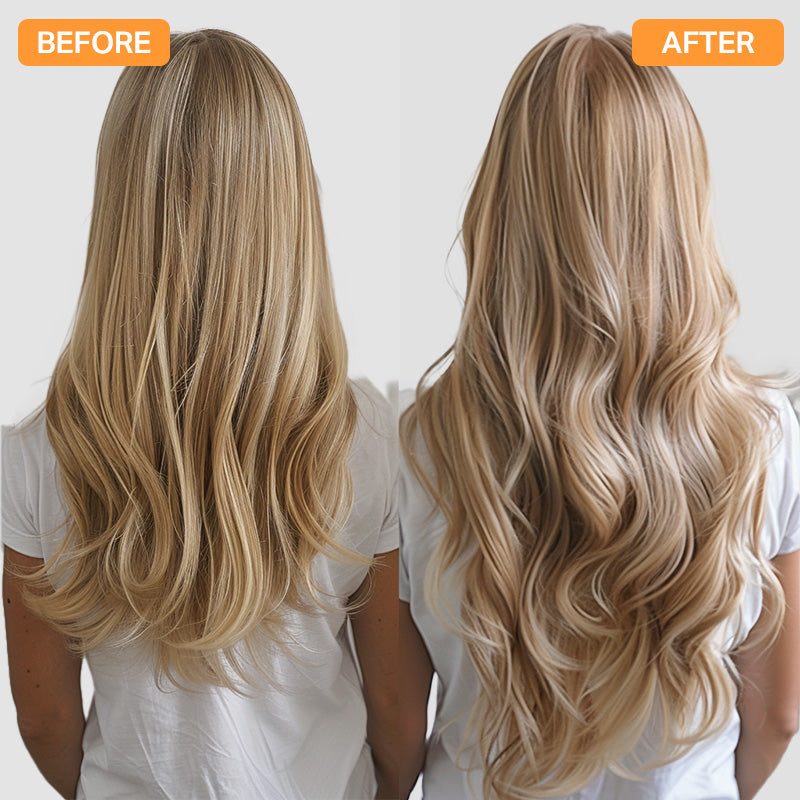
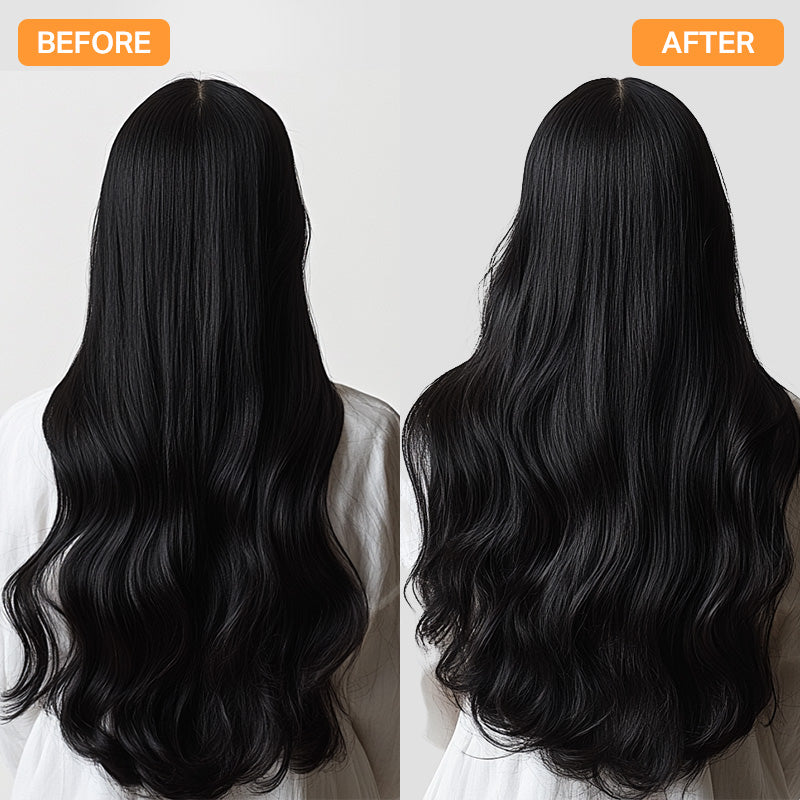
Natural Black to Light Blonde (1B/19/1B) Sew In Weft Hair Extensions
NEW YEAR SALE | 48% OFF SITEWIDE
CODE: NEWHAIR48
Couldn't load pickup availability
-100% premium Remy human hair for a soft, natural look
-Customizable width, easily trimmed to suit your desired style
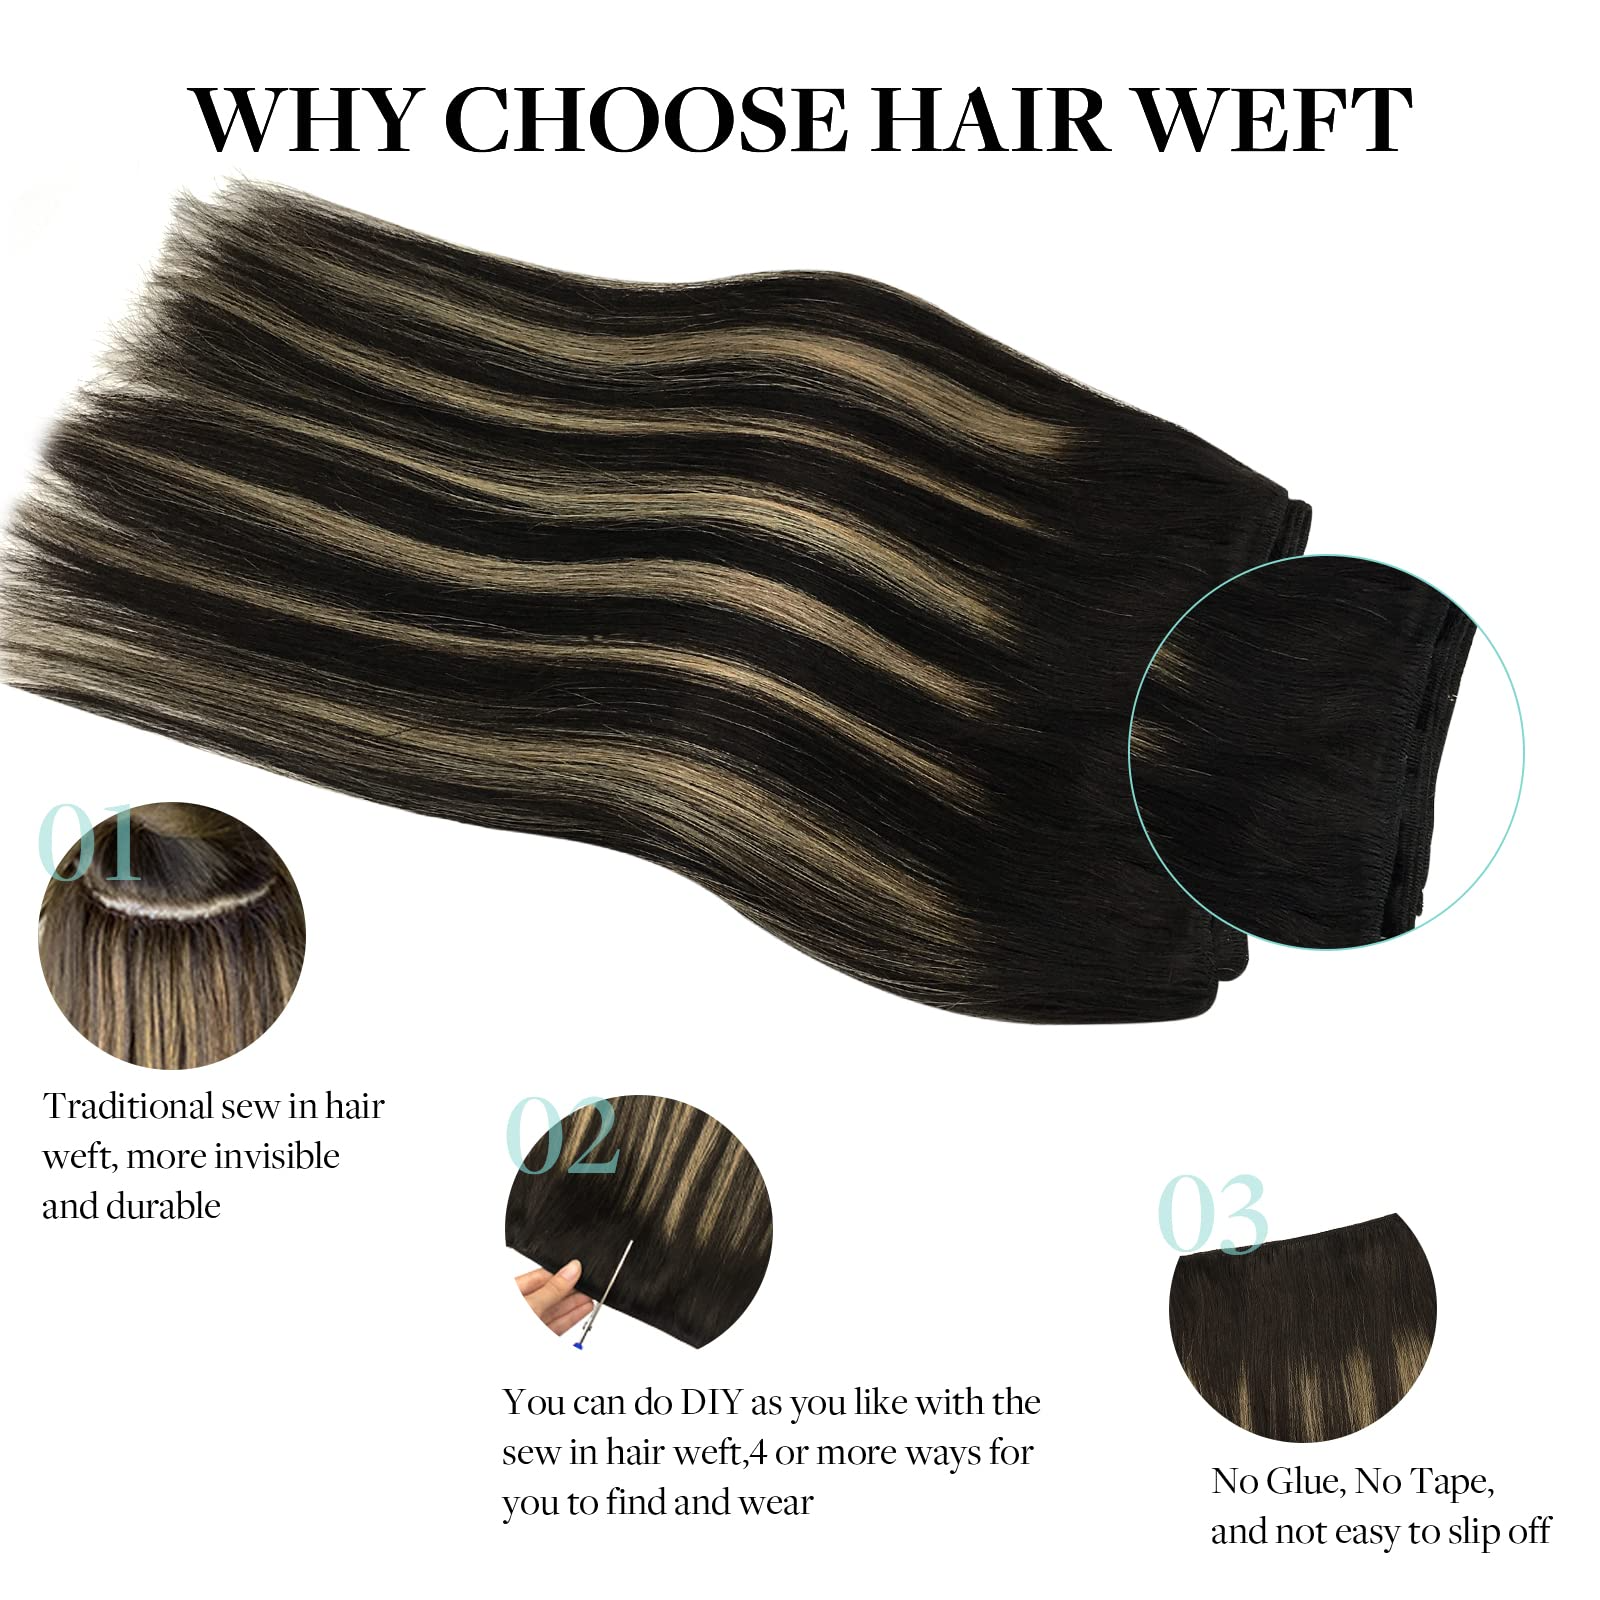
-Flexible installation options (sew-in, clip-in, etc.) to match your preference
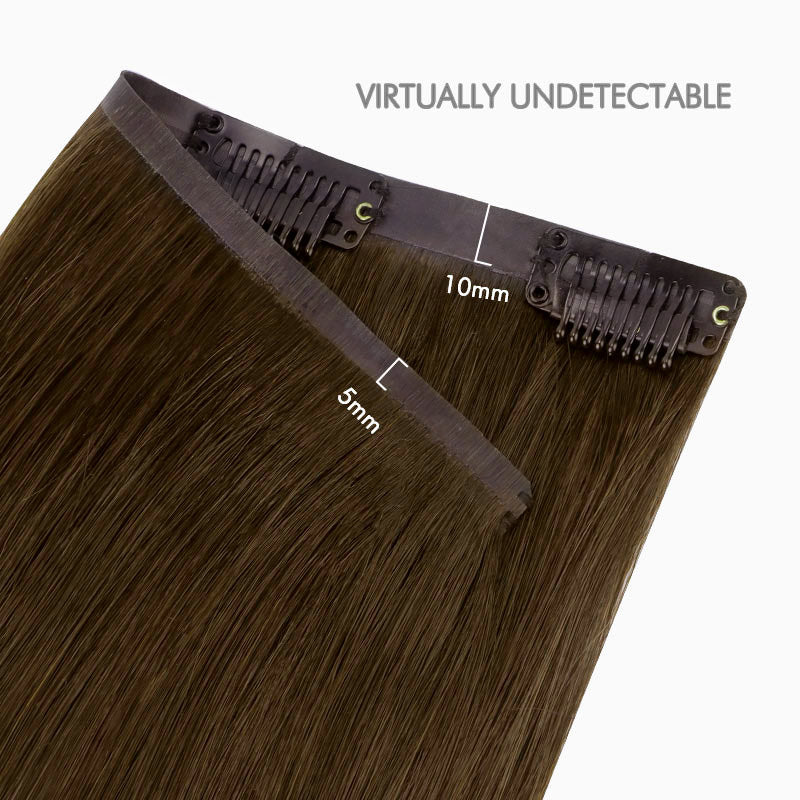
-Seamlessly blends with natural hair for a flawless, undetectable finish
-Ideal for all hair types, adding volume and length with ease
-Durable and long-lasting, designed for versatile styling
-DIY-friendly for a personalized, effortless hair transformation
-2-3 packs needed for a full application
-Professional application recommended - treat yourself to some pampering!
| LENGTH | WEIGHT | WIDTH |
| 14" | 80g | 40" |
| 14" | 100g | 50" |
| 16" | 80g | 40" |
| 16" | 100g | 50" |
| 18" | 100g | 40" |
| 20" | 100g | 40" |
| 22" | 100g | 40" |
| 24" | 100g | 40" |
Usage : Can be curled, colored
Lifetime : 3-4 months (depending on care and use)
Braid-in, Sew-in, or Clip-in construction
Step 1: Preparation
- Start by preparing your natural hair. Make sure it is clean, dry, and free from tangles.
- Part your hair horizontally about 1 inch above the nape of your neck. Secure the rest of your hair with a hair tie or clip.
Step 2: Measuring and Cutting
- Measure the weft against the width of your head and trim it if necessary. Ensure that the weft is slightly shorter than your head's width to allow for a more natural blend.
- Use the scissors to cut the weft along the marked line.
Step 3: Sectioning
- Release a thin section of hair from the clipped-up portion at the back of your head.
- Backcomb the roots of this section using a tail comb to create a base for the weft to attach to. This will provide better grip and prevent slippage.
- Secure the backcombed section with sectioning clips.
Step 4: Installation Methods There are two primary methods for installing weft hair extensions: sew-in and tape-in. Choose the method that suits your preferences and follow the corresponding steps below.
Method 1: Sew-In Installation
- Thread the needle with a colour that matches your natural hair.
- Hold the weft against the backcombed section of hair, positioning it along the part line.
- Starting from one end, sew through the weft and natural hair using a basic stitch. Make sure the thread is securely attached.
- Continue sewing across the weft until you reach the other end.
- Repeat steps 2-4 for each additional weft, ensuring they are evenly spaced and securely attached.
- Release another thin section of hair and repeat steps 2-5 until all desired wefts are attached.
- Once completed, blend the extensions with your natural hair using a flat iron or hairdryer on low heat.
Method 2: Tape-In Installation
- Section your hair horizontally, about 1 inch above the nape of your neck.
- Remove the protective backing from the hair adhesive tape or apply hair glue along the upper side of the weft.
- Place the weft underneath the sectioned hair, pressing it firmly against your natural hair.
- Use a flat iron on low heat to heat-seal the adhesive tape, or allow the glue to dry according to the manufacturer's instructions.
- Repeat steps 2-4 for each additional weft, ensuring they are evenly spaced and securely attached.
- Release another thin section of hair and repeat steps 2-5 until all desired wefts are attached.
- Blend the extensions with your natural hair using a flat iron or hairdryer on low heat.
Step 5: Styling and Maintenance
- Style your hair as desired, ensuring to be gentle when brushing or combing around the weft area.
- Avoid using excessive heat or styling products directly on the adhesive or sewn areas to prolong the lifespan of the extensions. Regularly inspect the extensions to ensure they remain secure. If any wefts feel loose, they may need to be re-attached or adjusted.
United States: 7–10 business days
Canada: 7–10 business days
United Kingdom: 7–10 business days
Europe: 7–10 business days
Rest of World: 7–10 business days
Please note:
Shipping time does not include processing time (1–2 business days for in-stock items).
We are happy to offer you convenient 30-day returns and exchange on all Doores Hair Extensions.

